- Move, before you buy. Do not record in the middle of the room and do not record facing a bare parallel wall. Getting your position wrong costs nothing to fix and undoes half of what treatment would achieve.
- Get closer to the microphone. Halving your distance roughly doubles the direct sound relative to the reflected sound. This is free, immediate, and the single most underused fix in home recording.
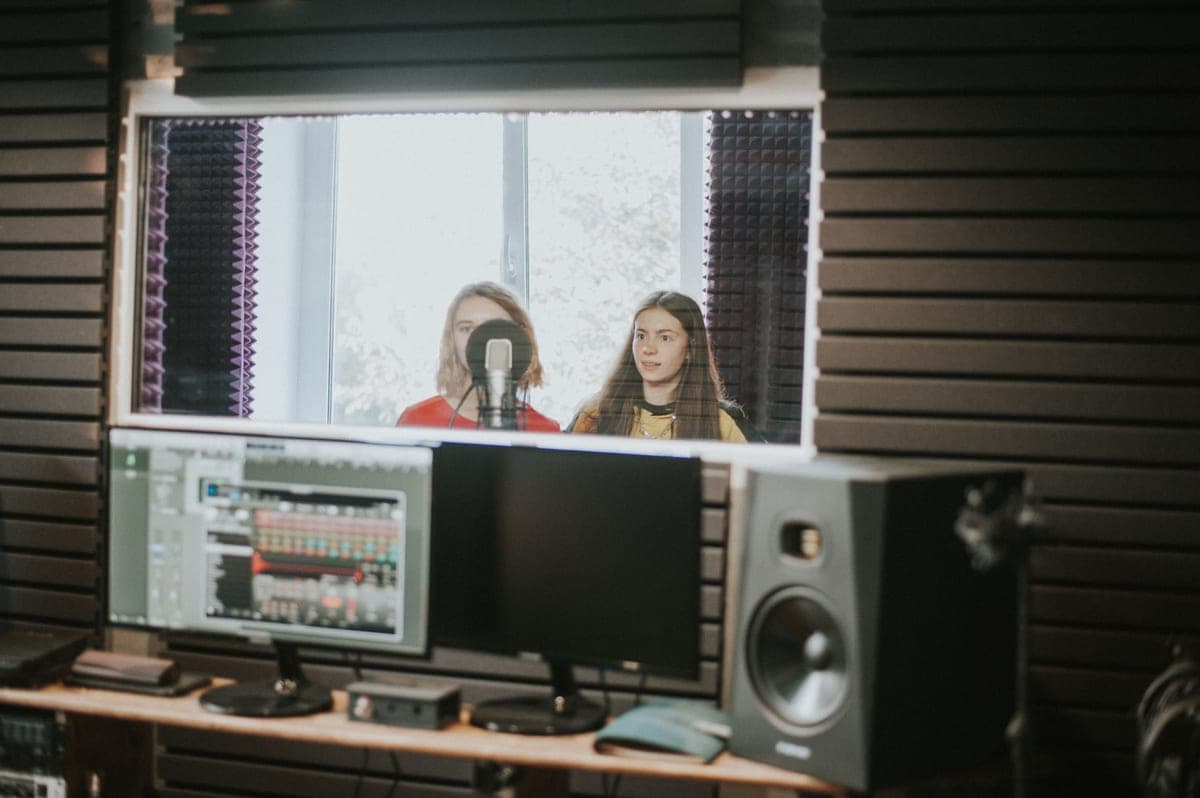
- Treat the first reflection points. Sit in your position and have someone slide a mirror along each side wall; wherever you can see the microphone or a tweeter, that is where a panel goes. 3-4 inches thick, two panels. This is the highest-return purchase in this hub.
- Treat the front corners. Thick absorbers straddling the vertical corners, leaving an air gap behind. 3 inch mineral fiber publishes 0.53 absorption at 125 Hz, and the gap improves on it. Best bass traps.
- Add a ceiling cloud above your head. The ceiling is a parallel reflective surface most people forget entirely, and in a room with a low ceiling it is a major contributor.
- Treat the rear corners, then the rear wall. Second-order priority, but in a small room the rear wall reflection arrives soon enough to matter.
- Measure, then stop. Over-treating a small room with thin absorbers leaves it dead in the high frequencies and still boomy in the low-mids — the worst of both. If it sounds lifeless, you have too much thin absorption and not enough thick.
Steps 1 and 2 are free. Step 3 is two panels. If you do only those three, your recordings will improve more than they would from any microphone or interface upgrade at the same cost, and that is a claim we are happy to be held to.
Why this order and not another
First reflections come first because they are the most audible defect in a recording. Sound arriving at your microphone a few milliseconds after the direct path combines with it and cancels at some frequencies while reinforcing at others — comb filtering. That is what "hollow" and "boxy" actually are, and it is happening in the speech band where all the content lives.
Corners come second because that is where low-frequency pressure concentrates. Every room mode has a maximum where walls meet, so an absorber there intercepts more energy than the same absorber mid-wall. Modal problems matter enormously for mixing and somewhat less for recording a close-miked voice, which is why they are second rather than first on a recording-focused list.
The ceiling is third because it is a large parallel surface that nobody treats, and a low ceiling puts it close enough to contribute an early reflection as significant as a side wall's.
The mirror trick, precisely
- Sit or stand exactly where you record, in your normal position.
- Have someone slide a hand mirror flat along the left wall at your head height.
- Wherever you can see the microphone reflected in the mirror, mark that spot.
- Repeat on the right wall, and on the ceiling above and slightly in front of you.
- Those marks are your first reflection points. A panel centered on each one is doing the maximum available work.
What treatment will not do
- Soundproof anything. Absorption changes sound inside the room; isolation stops it leaving. Isolation needs mass and decoupled construction — building work, not panels.
- Remove a fridge, a fan or traffic. Those are noise sources. Absorption reduces reverberation, not the source level.
- Fix a bad microphone position. Steps 1 and 2 exist because no amount of treatment compensates for recording at arm's length in the middle of a room.
- Eliminate room modes entirely. You can damp them substantially. In a small room you cannot remove them, which is why a headphone cross-reference stays useful even after treatment.
What to buy at each step
The three purchases this sequence needs
A finished panel with depth and independent testing for step 3, the DIY material with the best published low-frequency figure for step 4, and the value finished panel if you would rather not build.
GIK Acoustics FlexRange Panel (242)
Top pickGIK Acoustics · Published third-party test data, not marketing figures
The pick if you want absorption you can verify rather than believe. If budget forces a choice, two of these at the first reflection points beat eight foam tiles spread across a wall.
Why it is here
- Tested at an independent university lab to a published standard, which almost nothing else in this category is
- 3.625 inches of depth plus a built-in air gap is what actually reaches low-mid frequencies
- Integrated hanging wire means it sits flush without a mounting kit
What it costs you
- Costs several times what a foam kit does for the same wall area
- Ships from the manufacturer, so lead times are longer than an Amazon order
- Heavy enough to need a real fixing, not a command strip
Owens Corning 703 (DIY panels)
Owens Corning · The most absorption per dollar, if you build
The right choice if you have a weekend and want the most low-frequency absorption your money can buy. If you want it to arrive finished, buy the ATS or GIK panels and accept paying for the labour.
Why it is here
- 0.53 at 125 Hz is more than double what foam manages, and 125 Hz is where small rooms go wrong
- A fraction of the cost per square foot of any finished panel
- Cut and frame it to whatever depth your corners need
What it costs you
- You are building the frames and stapling the fabric
- Rigid fiberglass needs gloves, a mask and a plan for the offcuts
- Bare board must be covered before it goes on a wall you touch
ATS Acoustics Panel (2-inch)
ATS Acoustics · The value finished panel
The best value in a finished panel: 0.95 versus 1.05 NRC is not a difference you will hear, and the money saved buys the corner traps that actually change the room.
Why it is here
- Mineral-wool core at a price close to foam kits
- NRC 0.95 is within a rounding error of panels costing twice as much
- Wide fabric range
What it costs you
- Same 2-inch depth limitation as the rest of this group
- Edges are softer than Primacoustic's resin-hardened ones
- Published data is thinner than GIK's
If you rent
Freestanding absorbers on stands work, and so do panels hung from picture hooks rather than screwed in. A reflection filter treats one path without touching a wall at all. Treating a bedroom studio covers the renter-friendly version of this sequence properly.