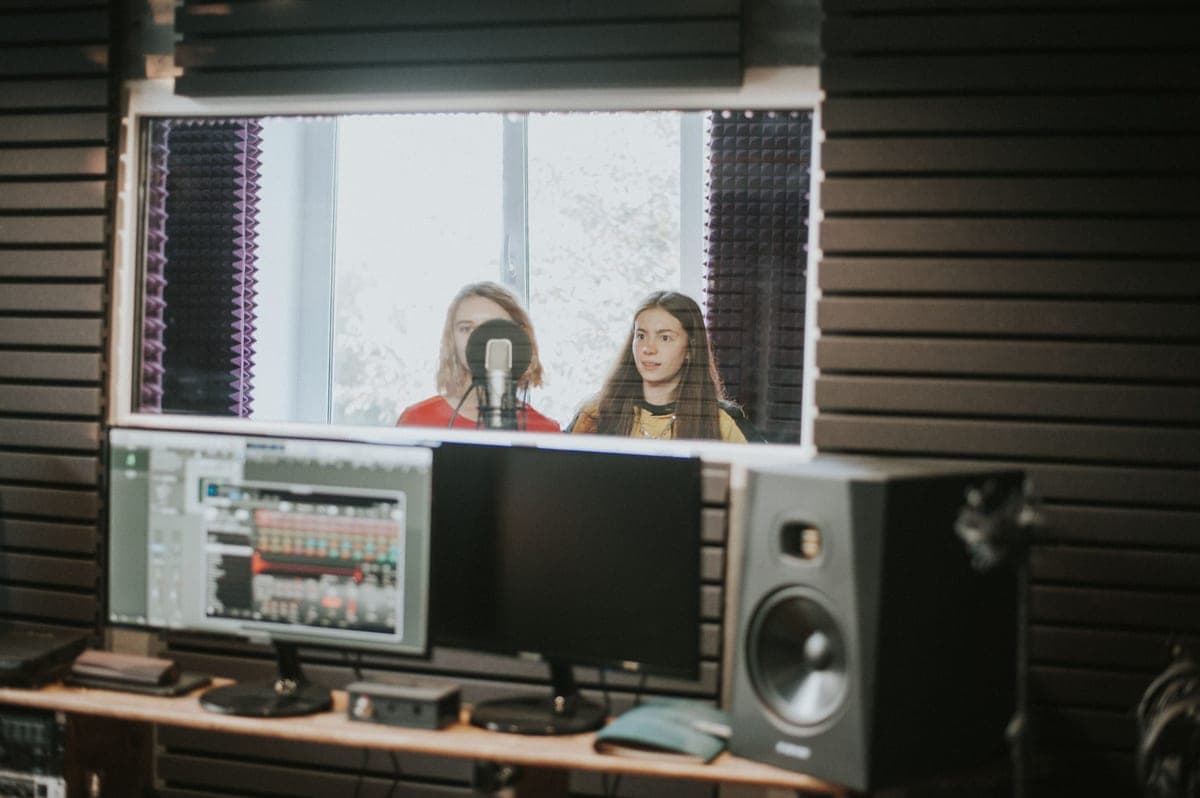
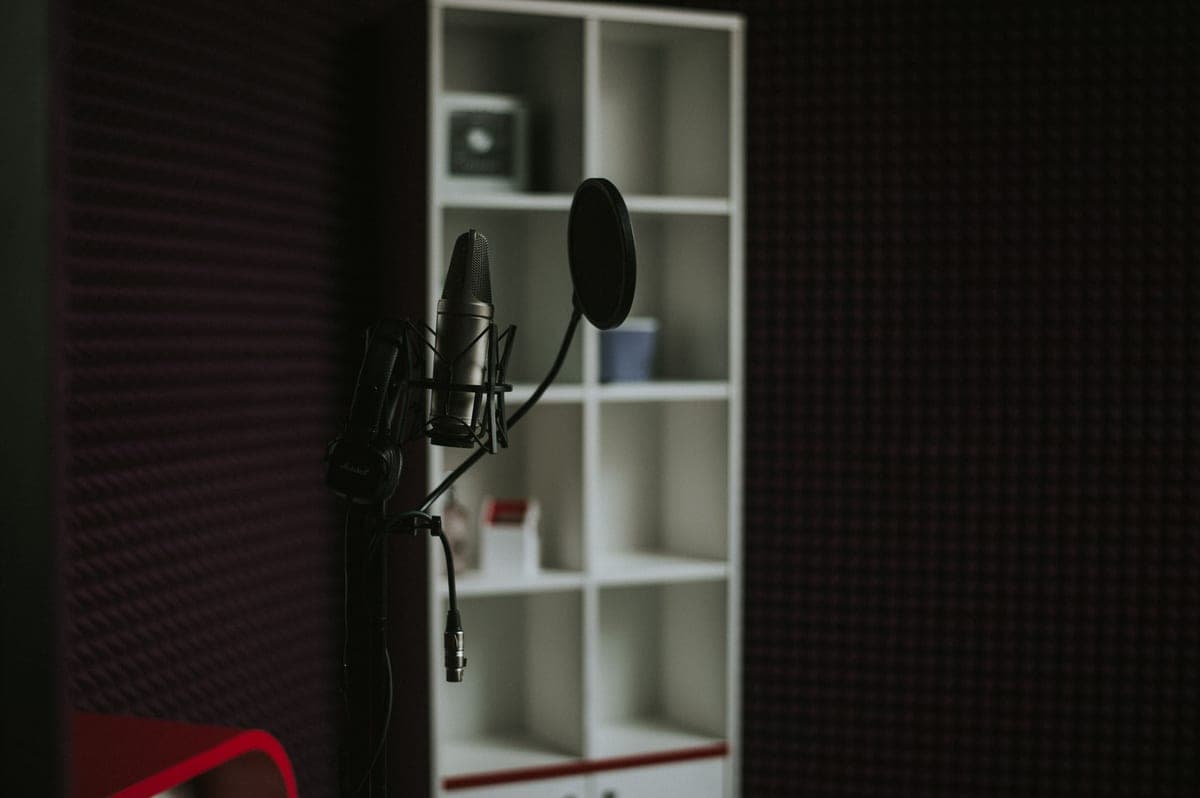
Treat the wall behind the microphone first, then the wall behind you, then the ceiling above the microphone. Voice-over wants a room with no audible character at all, so broadband absorption beats any clever geometry: an NRC 0.95 mineral-wool panel such as the ATS Acoustics 2-inch at those three positions, plus a dynamic microphone like the Shure SM7B that rejects what is left, gets you a publishable room for less than a single boutique condenser costs.
Voice-over is the easiest recording job to treat for, and the hardest one to fake. Easy, because you do not need the room to sound good — you need it to sound like nothing, and absorption is cheap. Hard, because an audiobook or an e-learning deliverable has long silences and consistent close-mic'd dialogue, which exposes room character a music mix would bury.
What a client is actually listening for
- No audible early reflections. A reflection arriving a few milliseconds after your direct voice adds a hollow, cupped quality. This is the single most common reason voice-over work gets rejected, and it is entirely a treatment problem.
- A low, steady noise floor. Room noise matters as much as room reflections. A microphone with a high self-noise figure makes it worse — see the 20 dB SPL against 12 dB SPL difference in AT2020 vs AT2035.
- Consistency between sessions. A retake recorded next week has to match. A permanently treated position does that; a duvet draped over a stand does not.
- No low-frequency boom. A small room builds up energy in the low-mids, which on a male voice reads as boxy. This is the part foam does not fix.
The order to treat in
For voice-over specifically, the priority order is different from a mixing room, because the microphone is the listener and it is pointing in one direction.
- 1. The wall the microphone faces, behind your head. Your voice goes past the capsule, hits that wall and comes back into the rear of the microphone. This surface does more damage than any other and is treated first.
- 2. The wall behind the microphone. Your voice reflects off it toward the capsule's front. Second priority.
- 3. The ceiling directly above the microphone. The reflection path nobody treats, and the reason a treated-looking room still sounds slightly cupped. A panel here is worth more than a fourth wall panel.
- 4. The corners, if boom is the complaint. Low-frequency buildup needs depth, not surface area — best bass traps.
- 5. The floor, if it is hard. A rug, not a panel. The cheapest item on this list.
What the published figures tell you
The row that decides most voice-over purchases is the third one. Foam at 3 in absorbs 0.23 at 125 Hz; mineral wool at the same thickness absorbs more than double that. The boxiness in a small room lives in exactly that region, which is why a wall covered in foam can look treated and still sound wrong. Do acoustic foam panels work goes through that in detail, and acoustic foam vs mineral wool panels compares them directly.
What to buy, in the order it matters
A microphone that rejects the room, a shield if you cannot fix anything to the walls, finished panels if you can, and the DIY route if you want the most absorption per dollar.
Shure SM7B
Top pickShure · The default upgrade, if your preamp can feed it
Buy it if your interface supplies 60 dB or more of clean gain, or if you are budgeting for a booster alongside it. Buy something else if your only interface is a Scarlett Solo and you are not prepared to add hardware.
Why it is here
- Rejects room and computer-fan noise better than any condenser at any price
- Two voicing switches let one mic cover a thin voice and a boomy one
- Internal shockmount and a yoke that actually holds position on a boom arm
What it costs you
- At -59.0 dBV/Pa it is one of the quietest mics sold, so it demands a loud preamp
- Total cost is the mic plus, very often, a booster
- Heavy enough that a cheap desk arm will droop under it
sE Electronics RF-X
sE Electronics · The most absorptive portable shield
Worth it if you cannot fix anything to the walls — a rented room, a shared space. If you can hang two panels, panels at the first reflection points do more for less, and leave your stand alone.
Why it is here
- Four layers with an air gap is a real absorber, not a foam semicircle
- Reduces the rear-wall reflection that makes untreated vocal takes sound hollow
- Mounts on a normal stand with the mic inside it
What it costs you
- Five pounds hung on a mic stand needs a heavy base or it tips
- Treats one reflection path; the ceiling and the floor are untouched
- Makes the mic position fussier to set
ATS Acoustics Panel (2-inch)
ATS Acoustics · The value finished panel
The best value in a finished panel: 0.95 versus 1.05 NRC is not a difference you will hear, and the money saved buys the corner traps that actually change the room.
Why it is here
- Mineral-wool core at a price close to foam kits
- NRC 0.95 is within a rounding error of panels costing twice as much
- Wide fabric range
What it costs you
- Same 2-inch depth limitation as the rest of this group
- Edges are softer than Primacoustic's resin-hardened ones
- Published data is thinner than GIK's
Owens Corning 703 (DIY panels)
Owens Corning · The most absorption per dollar, if you build
The right choice if you have a weekend and want the most low-frequency absorption your money can buy. If you want it to arrive finished, buy the ATS or GIK panels and accept paying for the labour.
Why it is here
- 0.53 at 125 Hz is more than double what foam manages, and 125 Hz is where small rooms go wrong
- A fraction of the cost per square foot of any finished panel
- Cut and frame it to whatever depth your corners need
What it costs you
- You are building the frames and stapling the fabric
- Rigid fiberglass needs gloves, a mask and a plan for the offcuts
- Bare board must be covered before it goes on a wall you touch
The microphone is part of the treatment
This is the part most treatment guides leave out. A cardioid dynamic rejects off-axis sound far more effectively than a condenser does, so the same untreated room is quieter behind an SM7B than behind any condenser at any price. If your deliverable is spoken word rather than music, that is a treatment decision disguised as a microphone decision.
The cost is output level: the SM7B publishes -59.0 dBV/Pa, which demands an interface with roughly 60 dB of clean gain. Best audio interfaces for the Shure SM7B lists the boxes that clear it, and best microphones for voice over ranks the field on the specs that matter for long-form speech.
If you are committed to a condenser for its detail, the self-noise figure becomes critical, because long silences are part of a voice-over deliverable and a gate makes hiss pump rather than disappear. Best condenser microphones for home studio ranks that field on exactly that number.
If you cannot fix anything to the walls
Renters and shared-space recordists have one real option: a portable shield on the stand. The sE Electronics RF-X is the most absorptive of them, with a composite outer panel, wool fabric, an air gap and inner foam — four layers rather than a foam semicircle. It treats the path behind the microphone, which is the worst one.
Its limitations are honest and worth stating: approximately 5 lb hung off a stand needs a heavy base or it tips, and it does nothing at all for the ceiling, the floor or the wall behind you. Best reflection filters ranks the category, and the realistic verdict is that two panels beat any shield if you are allowed to hang them.
What this does not fix
- Noise from outside. Absorption does not stop sound getting in. Traffic, neighbours and aircraft are a mass-and-sealing problem, which is a different and far more expensive job — soundproofing vs acoustic treatment is the honest explanation.
- A noisy computer. A fan two feet from the microphone is a bigger problem than your walls. Move the machine, or use a dynamic microphone, or both.
- HVAC. Record with it off. Nothing else works.
- Your own technique. Consistent distance and a consistent angle do more for consistency between sessions than any panel.
A realistic starting package
- A cardioid dynamic microphone and an interface with enough gain for it. This is the largest single improvement available and it is a purchase, not a project.
- Two `2-inch` mineral-wool panels at NRC 0.95, on the wall behind your head and the wall the microphone faces.
- One panel on the ceiling above the microphone position.
- A rug, if the floor is hard.
- Corner traps, only if the remaining complaint is boom rather than hollowness. Acoustic treatment on a budget sequences the whole thing by cost.