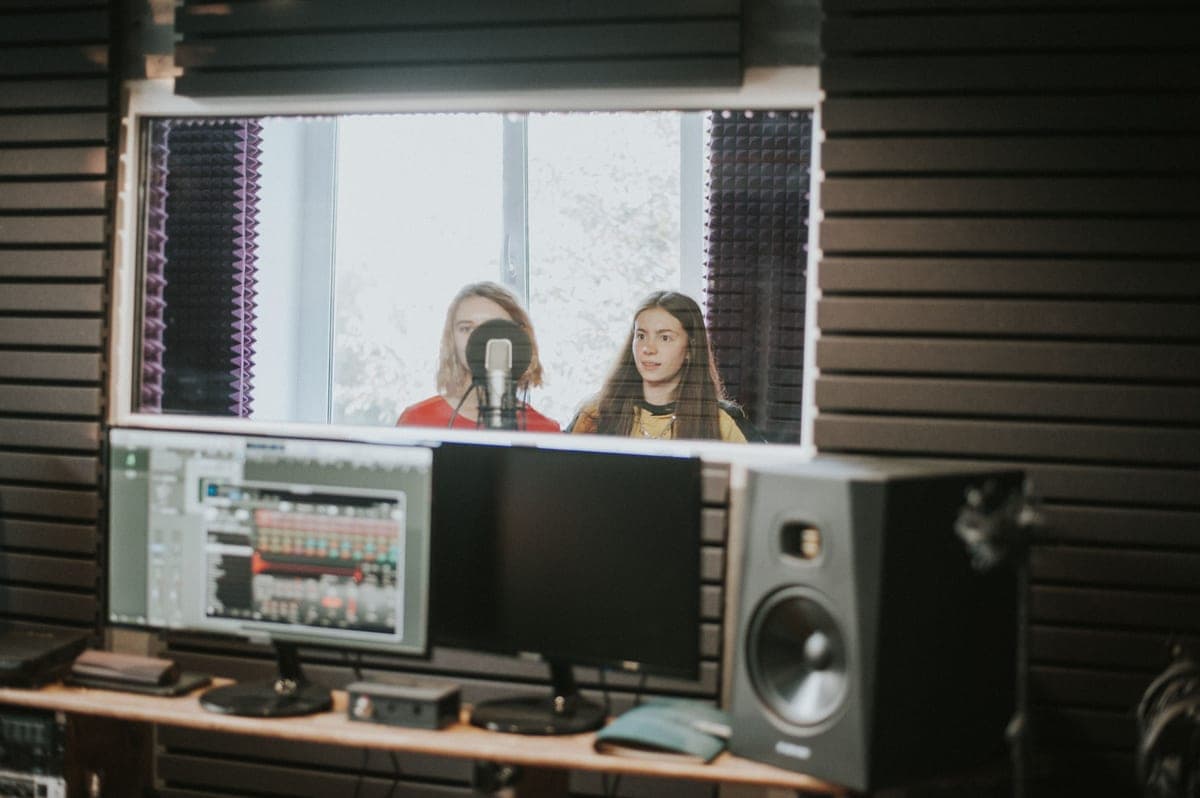
Partly. A reflection filter absorbs the rear and side reflections arriving at the back of the microphone, and it does that reasonably well above roughly the midrange. It is only a few inches thick, so it does almost nothing at 125 Hz, where small rooms actually go wrong — and it treats one reflection path while the ceiling, the desk and the wall in front of you stay untouched. It is the right purchase when you cannot fix anything to a wall, and second-best when you can.
Reflection filters are sold as portable vocal booths, which oversells them, and dismissed as foam theater, which undersells them. Both readings skip the only question worth asking: which reflections reach your microphone, and what thickness of absorber does it take to stop them.
What a filter is actually in the way of
Your voice leaves in every direction. In a bare room, four paths matter: behind you, in front of you, the ceiling above, and the desk below. A cardioid microphone is least sensitive at its rear, which is pointed at you — so the reflection that does the most damage is the one coming off the wall behind the microphone, arriving from the direction the capsule is pointed.
That is the path a shield wrapped around the back of the microphone is standing in. It is a real path and treating it is a real improvement. What a shield cannot do is anything about the ceiling bounce two feet above you, the desk reflecting straight up into the capsule, or the wall behind your own head. Acoustic treatment for a ceiling and how to treat a room for recording cover the paths a filter leaves alone.
Thickness is the limit, and it is a hard one
Absorption depth sets the lowest frequency an absorber usefully affects. A thin absorber works at short wavelengths and progressively stops working as the wavelength grows. That is why the whole category of portable shields — a few inches of composite, felt or foam — is effective on consonants and room sparkle and ineffective on the low-mid energy that makes a small room sound boxy and hollow.
The published evidence for the materials makes the point. At 3 in thickness, mineral fiber absorbs 0.53 at 125 Hz where acoustic foam manages 0.23 — and a shield is typically thinner than 3 in of mineral fiber, folded into a curve, with no air gap behind most of its surface. Whatever a given shield achieves at 125 Hz, it is below those figures, not above them.
The NRC trap, if a shield ever quotes one
NRC under ASTM C423 is computed from the 250 Hz to 2 kHz bands and excludes 125 Hz entirely. So a product advertised at NRC 1.05 says nothing whatsoever about the low-mid buildup you are trying to fix — it is a single number averaged over the frequencies where almost any absorber performs well.
This matters for comparing a shield against a panel too. GIK's FlexRange panel publishes NRC 1.05, tested at the University of Salford to BS EN ISO 354:2003, and is 3.625 in thick with a built-in air gap in a two-frame core; the ATS panel publishes NRC 0.95 with a Rockwool AFB core. Both are real figures from real tests. Neither tells you the 125 Hz story, which is exactly why this hub ranks treatment on published absorption at 125 Hz instead. Do acoustic foam panels work is the same analysis applied to foam.
The side effect nobody mentions
A shield is a hard-ish surface placed a few inches from the capsule. Whatever it does not absorb, it reflects — back toward the microphone, over a very short path. Short-path reflections combine with the direct sound and produce a comb-filtered coloration, which is heard as a boxy or nasal quality rather than as an echo.
In practice this is why the same shield can sound like an improvement on one voice and like a hollow box on another, and why mic position inside a shield is fussier than mic position in open air. If you buy one, treat the distance between the capsule and the shield as a variable worth testing rather than a fixed assembly: move the microphone forward in the curve and listen.
What to buy, in order of how much it changes
The panel is first because it treats more for less when you are able to mount it. The two shields follow for rooms where you cannot — ranked on construction and on how much weight your stand has to carry.
GIK Acoustics FlexRange Panel (242)
Top pickGIK Acoustics · Published third-party test data, not marketing figures
The pick if you want absorption you can verify rather than believe. If budget forces a choice, two of these at the first reflection points beat eight foam tiles spread across a wall.
Why it is here
- Tested at an independent university lab to a published standard, which almost nothing else in this category is
- 3.625 inches of depth plus a built-in air gap is what actually reaches low-mid frequencies
- Integrated hanging wire means it sits flush without a mounting kit
What it costs you
- Costs several times what a foam kit does for the same wall area
- Ships from the manufacturer, so lead times are longer than an Amazon order
- Heavy enough to need a real fixing, not a command strip
sE Electronics RF-X
sE Electronics · The most absorptive portable shield
Worth it if you cannot fix anything to the walls — a rented room, a shared space. If you can hang two panels, panels at the first reflection points do more for less, and leave your stand alone.
Why it is here
- Four layers with an air gap is a real absorber, not a foam semicircle
- Reduces the rear-wall reflection that makes untreated vocal takes sound hollow
- Mounts on a normal stand with the mic inside it
What it costs you
- Five pounds hung on a mic stand needs a heavy base or it tips
- Treats one reflection path; the ceiling and the floor are untouched
- Makes the mic position fussier to set
Aston Halo
Aston Microphones · A lighter shield that will not tip your stand
The pick when stand stability is your limiting factor, or when you need coverage further around the sides. If your stand is heavy and absorption is the priority, the RF-X's extra layer does more.
Why it is here
- Nearly a pound lighter than the RF-X, which is the difference between a stable stand and a wobbly one
- Wraps further around the mic than most shields, covering more of the reflection arc
- PET felt is recycled and does not shed fibers
What it costs you
- Three layers of felt absorb less at the low-mid end than the RF-X's four-layer construction with an air gap
- Costs more than the RF-X
- Bulky to store
ATS Acoustics Panel (2-inch)
ATS Acoustics · The value finished panel
The best value in a finished panel: 0.95 versus 1.05 NRC is not a difference you will hear, and the money saved buys the corner traps that actually change the room.
Why it is here
- Mineral-wool core at a price close to foam kits
- NRC 0.95 is within a rounding error of panels costing twice as much
- Wide fabric range
What it costs you
- Same 2-inch depth limitation as the rest of this group
- Edges are softer than Primacoustic's resin-hardened ones
- Published data is thinner than GIK's
When a reflection filter is the right call
- You rent, or share the space. No holes, no adhesive, nothing permanent. This is the case the category exists for and it is a good one.
- The recording position moves. A shield travels with the stand; a panel on a wall only treats the spot it faces.
- You record in a corner of a living room. You may not be allowed to hang anything where it would do the most good.
- You already have panels and need the last increment. A shield stacked on top of first-reflection absorption is a sensible final step rather than a substitute for one.
And when it is not: if you can hang two panels at the first reflection points, do that instead. A panel is thicker, works lower, treats the whole position rather than one arc, does not hang five pounds off your microphone stand, and does not change how the microphone sounds up close. Best acoustic panels ranks that field, and acoustic treatment on a budget is the DIY route.
The stand problem, which is not acoustic
A shield is cantilevered weight hung high on a stand. The RF-X is around 5 lb and the Aston Halo is 1.85 kg (4.08 lb) — nearly a pound lighter, which is genuinely the difference between a stable stand and one that creeps forward through a session. Add a microphone, a shockmount and a pop filter to the same assembly and a lightweight tripod will not hold position.
Budget for a heavy round-base or a proper boom with a counterweight before you add a shield to an existing setup. Best mic stands for the Shure SM7B covers stands rated for real loads, and boom arm vs desk stand covers which mount your desk can take at all.
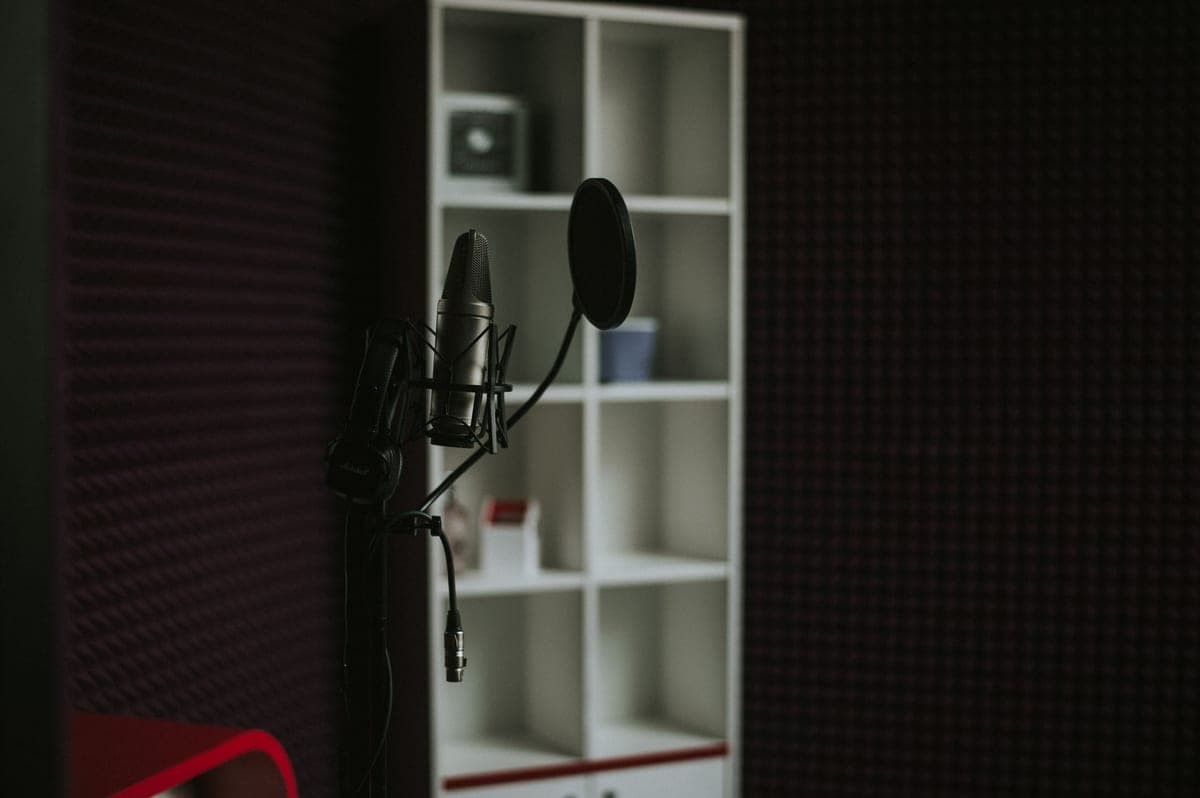
Cheaper things that do more first
- Get closer to the microphone. A hand's width instead of two feet raises your voice relative to the room by more than any shield removes, and it is free. This is the single most effective change available in an untreated space.
- Choose a dynamic microphone. A dynamic capsule produces almost nothing from a weak reflection. In a bare room it beats a condenser inside a shield. Dynamic vs condenser microphones.
- Point the microphone's rear at the worst surface. A cardioid rejects what is behind it, so aim the dead side at the bare wall or the window.
- Hang something soft behind the microphone. A duvet on a door, a full bookshelf, a heavy curtain. Not elegant, and measurably better than a thin shield.
- Treat the first reflection points properly. Then revisit whether you still need a shield at all.
That order is not a dismissal of the product — it is what honest sequencing looks like when the budget is finite. A reflection filter sits fourth or fifth on that list for most home setups, and first for the subset of people who cannot modify the room. If you are in that subset, the shields below are worth owning. Soundproofing vs acoustic treatment covers the other thing a shield is often expected to do and cannot: it will not stop your neighbour's dog reaching the recording.
And if the decision underneath this one is still which microphone to buy, Shure SM7B vs Rode NT1 is the dynamic-or-condenser version of the same room problem — in a bare room the capsule you choose matters more than anything you wrap around it.