- Get closer to the microphone. Free. Halving your distance roughly doubles direct sound relative to room sound. Most amateur-sounding recordings are amateur for this reason alone.
- Move your recording position. Free. Out of the room's center, not facing a bare parallel wall, facing down the long dimension if you can.
- Use what you own as treatment. Free. A duvet on a clothes rail behind you, a full bookcase on a bare wall, a sofa in the reflection path.
- Two DIY acoustic panels. Cheap. Mineral wool in a timber frame with breathable fabric — 0.53 absorption at 125 Hz for a fraction of a finished panel. Acoustic treatment on a budget.
- An interface with enough published gain. Moderate. This constrains your microphone choice, so it comes before the microphone. Best interfaces under $200.
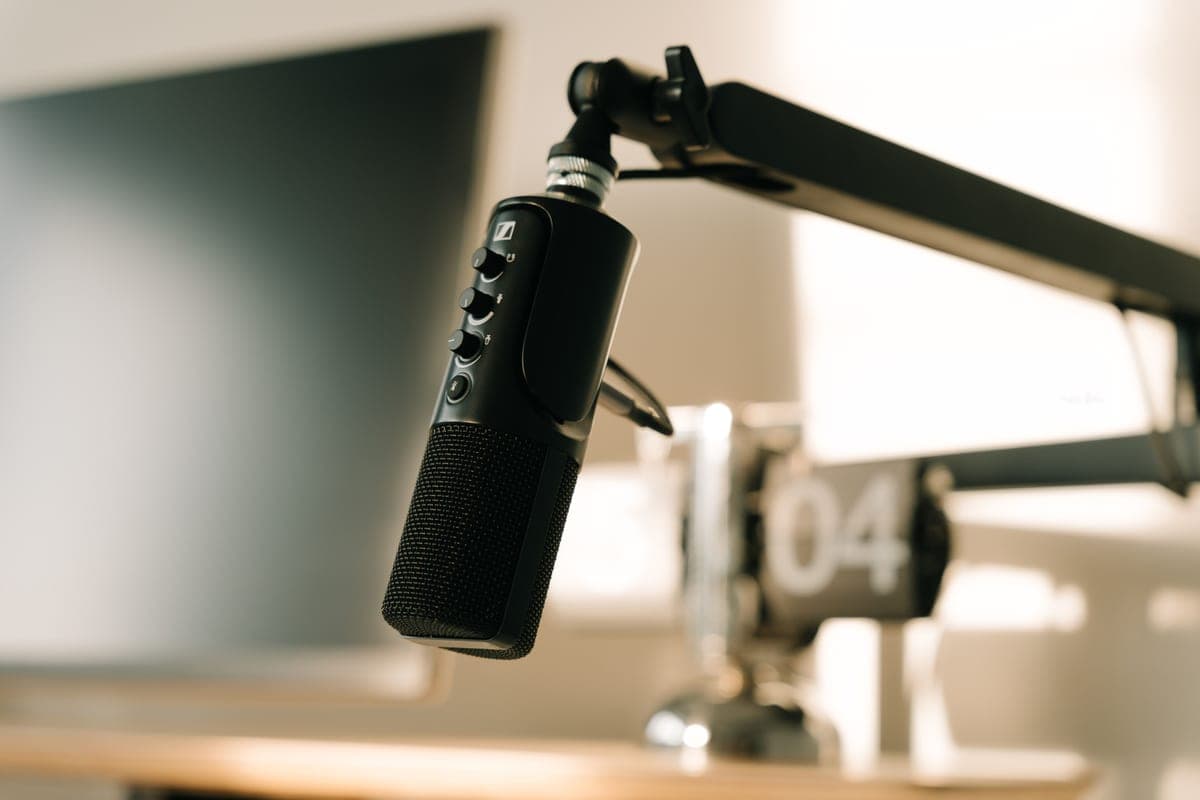
- A microphone your interface can drive. Moderate. Not the most famous one — the one whose published sensitivity suits your published gain figure.
- A mount rated for the weight. Cheap to moderate. Best boom arms.
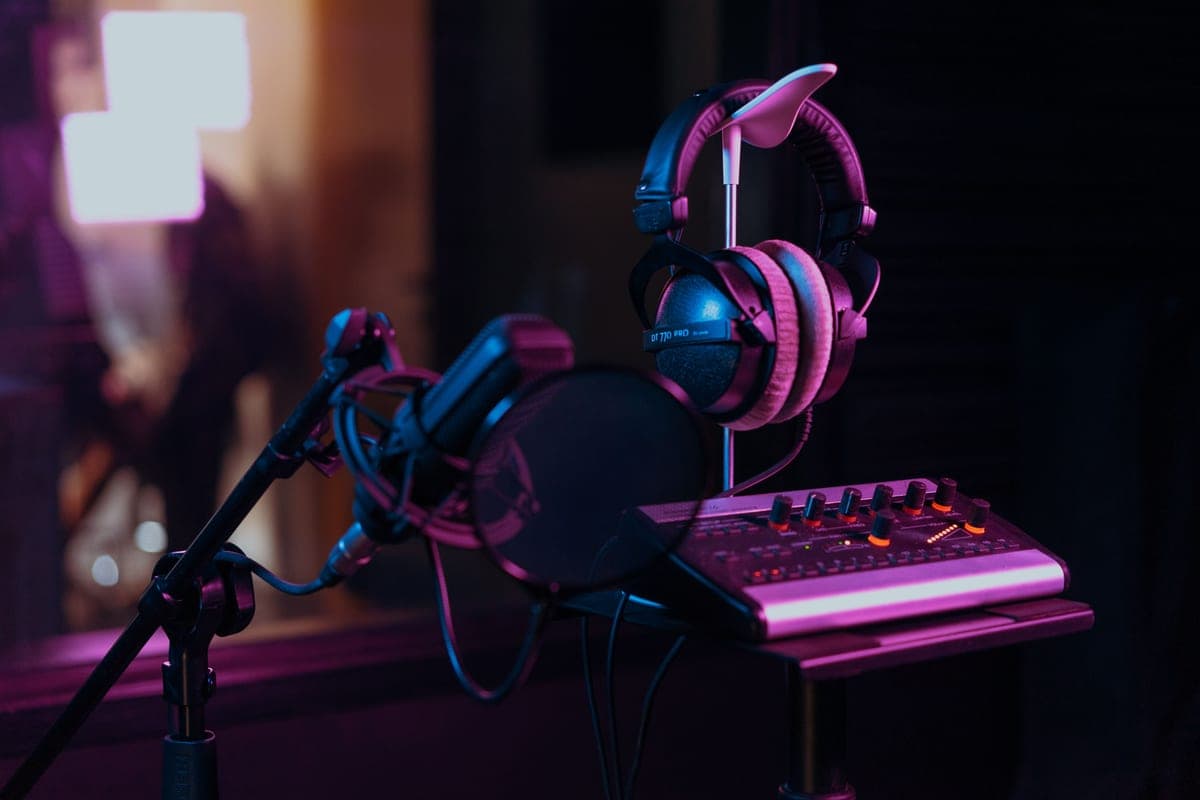
- Headphones, if you do not have usable ones. Best headphones for mixing — and note a 36 ohm pair works from anything.
The first three cost nothing, and together they are worth more than the first two purchases. That is not a rhetorical flourish — distance and position change the direct-to-reverberant ratio, which is the single most audible difference between a home recording and a professional one.
The three purchases that waste a small budget
- A famous microphone your interface cannot drive. The classic and expensive mistake: an SM7B at -59.0 dBV/Pa on a 55 dB interface produces a thin, hissy recording that is worse than the USB microphone it replaced. Nothing is broken; the arithmetic does not work.
- A foam tile kit. 3 inch foam absorbs 0.23 at 125 Hz against 0.53 for mineral fiber. You will absorb high frequencies you did not have a problem with and leave the boxiness untouched. Do acoustic foam panels work.
- Studio monitors, before treatment. Room modes cause 10 dB-plus swings below 200 Hz, which is bigger than any difference between monitors. Studio monitors vs headphones.
The cheapest credible XLR chain
If you want a concrete starting point rather than a principle: an interface that publishes real gain, a dynamic microphone that does not need a booster, and a mount rated for its weight. That is three purchases, and the order is deliberate — the interface first, because its gain ceiling constrains everything after it.
We do not print prices, because they move constantly and a number that was true last quarter is worse than no number. Every product below links to a live Amazon search so you can see the current figure rather than one we typed.
The three-purchase starting chain
The value dynamic that works without a booster, the interface with the most published gain per dollar, and the DIY treatment material with the best low-frequency figure.
Rode PodMic
Top pickRode · The best value in a broadcast dynamic
The pick for most people upgrading from a USB mic: it gets you 90 percent of the broadcast-dynamic sound without the booster arithmetic. Choose the SM7B instead if your voice is already bass-heavy and you want the bass-rolloff switch.
Why it is here
- At -57 dBV/Pa it needs about 2 dB less gain than an SM7B, which is enough to matter on a 58 dB interface
- Internal pop filter means one less thing clamped to your arm
- All-metal body at a fraction of the SM7B's price
What it costs you
- Voiced with more low-mid weight than the SM7B, so a boomy voice can get boomier
- No voicing switches, so you fix tone in the DAW rather than on the mic
- Still low enough output that a 55 dB interface will be working hard
Focusrite Scarlett 2i2 (4th Gen)
Focusrite · The most gain per dollar in a two-input box
The default answer for someone buying an SM7B or PodMic: it supplies enough clean gain that you never need a booster, which makes it the cheaper total purchase even when it is not the cheaper box. Look elsewhere only if you need MIDI or four outputs.
Why it is here
- 69 dB is the most gain of any interface at this price, and enough for an SM7B with headroom to spare
- 120 dB dynamic range means the converters are not the weak link
- Two inputs, so a second person does not mean a second purchase
What it costs you
- Air mode is a fixed voicing, not an EQ you can dial
- Plastic-and-metal build feels less solid than the SSL or Audient competition
- No MIDI, which matters if you also play keys
Owens Corning 703 (DIY panels)
Owens Corning · The most absorption per dollar, if you build
The right choice if you have a weekend and want the most low-frequency absorption your money can buy. If you want it to arrive finished, buy the ATS or GIK panels and accept paying for the labour.
Why it is here
- 0.53 at 125 Hz is more than double what foam manages, and 125 Hz is where small rooms go wrong
- A fraction of the cost per square foot of any finished panel
- Cut and frame it to whatever depth your corners need
What it costs you
- You are building the frames and stapling the fabric
- Rigid fiberglass needs gloves, a mask and a plan for the offcuts
- Bare board must be covered before it goes on a wall you touch
What to buy second-hand and what not to
- Buy used: microphones. A dynamic capsule has no consumable parts and a 10 year old SM58 works like a new one. The best value in the whole category.
- Buy used: stands and arms. Mechanical items you can inspect. Check the springs are damped and the clamp is not stripped.
- Buy used with care: interfaces. Driver support ends, and an interface without current drivers is a paperweight on your next operating system. Check the manufacturer still supports it.
- Buy new: cables. The failure mode is an intermittent connector, which is maddening to diagnose and costs more time than the saving.
- Buy new or make: treatment. Used panels are bulky to ship and cheap to build.
What a budget cannot buy
Isolation. If your problem is a street outside, a boiler, or housemates, absorption does not help — that needs mass and decoupled construction, which is building work rather than a purchase. The realistic answers are scheduling, and recording close on a dynamic microphone, which raises the direct-to-noise ratio substantially.
Where to go from here
The home studio upgrade path is the diagnostic version of this page — it starts from what is wrong with your recordings rather than from a budget, which is usually the more useful direction.