Record a podcast at home by getting four things right in this order: a quiet, non-central position in the room, a dynamic microphone a hand's width from your mouth, an interface with enough published gain to feed it, and closed-back headphones so your monitoring does not leak into the take. Set levels so normal speech peaks around -12 dBFS, record locally, and treat the room before you upgrade anything.
Almost every guide to this question is a shopping list. The shopping list is the easy part and it is not what separates a home recording from a professional one. What separates them is the room, the distance from the capsule, and whether your levels gave you anywhere to go. Those are the first three steps below, and two of them cost nothing.
The eight steps, in order
- Choose where in the room you sit. Out of the center, facing down the long dimension, not into a bare parallel wall. Soft furnishings and a bookcase behind you are working acoustic treatment you already own. This step is free and it is the biggest one.
- Choose a dynamic microphone, not a condenser. In an untreated room a cardioid dynamic hears far less of your walls. Dynamic vs condenser is the reasoning in full.
- Work close to it. A hand's width, slightly off-axis so you are not speaking straight into the capsule. Also free, and it raises direct sound relative to the room more than any purchase here.
- Match the interface's published gain to the microphone. Broadcast dynamics are the hungriest microphones made. How much clean gain do you need lists the figure for every box we cover.
- Mount the microphone on something rated for its weight. An arm that droops mid-episode changes your distance, which changes your tone. Boom arm vs desk stand.
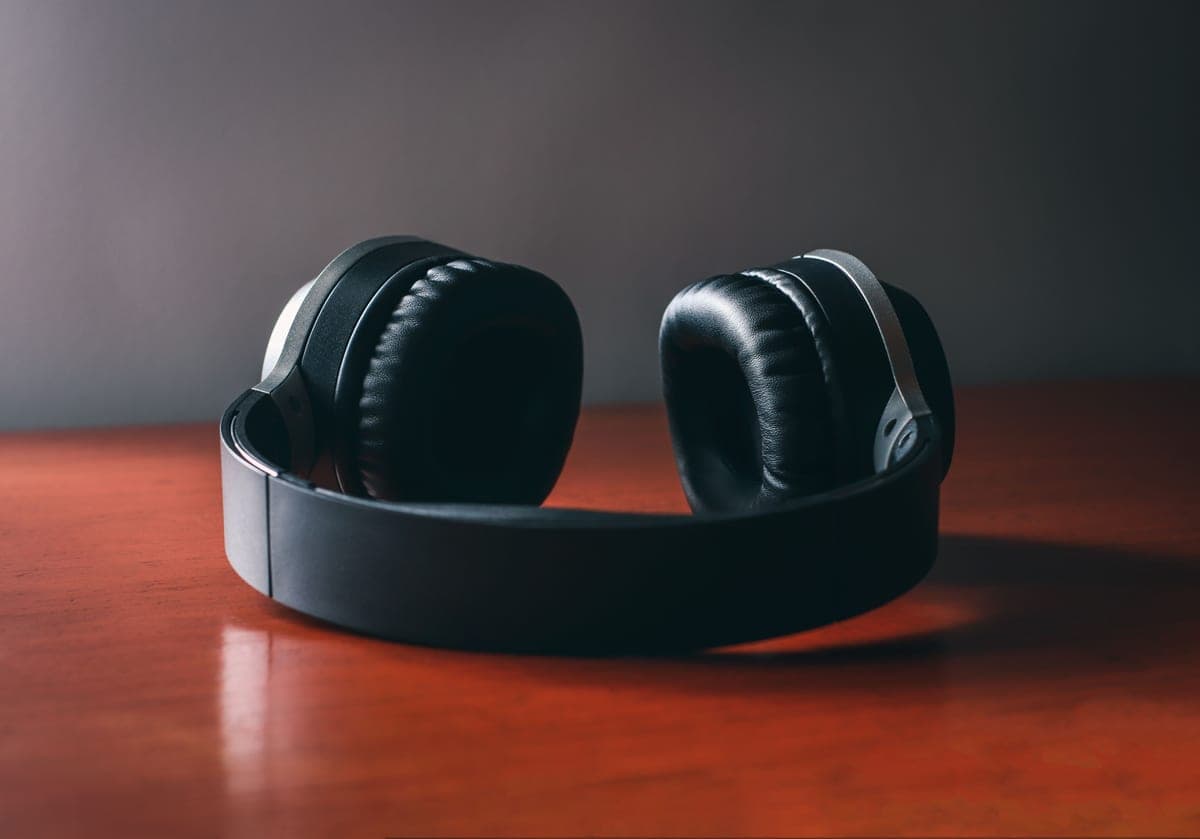
- Wear closed-back headphones. Open-backs leak into a cardioid microphone a hand's width away. One pair per person.
- Set levels for headroom, not for loudness. Peaks around -12 dBFS on normal speech. A laugh or a raised voice needs somewhere to go, and clipping is the one fault that cannot be repaired.
- Record a thirty-second silence test and listen to it. Hiss means a gain problem. Room tone means a noise problem. Neither is fixed by addressing the other.
If you do steps one, three, seven and eight properly with modest gear, you will out-record someone who skipped them with expensive gear. That is not a motivational slogan — it is the direct consequence of how much of a close-miked voice is direct sound and how little is the microphone's own character.
What to buy
A complete home podcast chain
A broadcast dynamic that does not need a booster, the interface with the most published gain per dollar, an arm rated for the weight, and the closed-back with the highest published isolation figure we have found.
Rode PodMic
Top pickRode · The best value in a broadcast dynamic
The pick for most people upgrading from a USB mic: it gets you 90 percent of the broadcast-dynamic sound without the booster arithmetic. Choose the SM7B instead if your voice is already bass-heavy and you want the bass-rolloff switch.
Why it is here
- At -57 dBV/Pa it needs about 2 dB less gain than an SM7B, which is enough to matter on a 58 dB interface
- Internal pop filter means one less thing clamped to your arm
- All-metal body at a fraction of the SM7B's price
What it costs you
- Voiced with more low-mid weight than the SM7B, so a boomy voice can get boomier
- No voicing switches, so you fix tone in the DAW rather than on the mic
- Still low enough output that a 55 dB interface will be working hard
Focusrite Scarlett 2i2 (4th Gen)
Focusrite · The most gain per dollar in a two-input box
The default answer for someone buying an SM7B or PodMic: it supplies enough clean gain that you never need a booster, which makes it the cheaper total purchase even when it is not the cheaper box. Look elsewhere only if you need MIDI or four outputs.
Why it is here
- 69 dB is the most gain of any interface at this price, and enough for an SM7B with headroom to spare
- 120 dB dynamic range means the converters are not the weak link
- Two inputs, so a second person does not mean a second purchase
What it costs you
- Air mode is a fixed voicing, not an EQ you can dial
- Plastic-and-metal build feels less solid than the SSL or Audient competition
- No MIDI, which matters if you also play keys
Rode PSA1+
Rode · The quietest arm that holds a heavy mic
The right arm for a broadcast dynamic: quiet, and rated for the weight you will actually hang on it. If the arm appearing on camera is your problem, a low-profile arm solves that instead.
Why it is here
- Damped springs and a neoprene sleeve mean it does not creak or ping into a live mic
- 1.2 kg capacity covers an SM7B with a booster and a pop filter hanging off it
- Internal cable routing keeps the XLR out of the shot and out of the way
What it costs you
- 94 g minimum means a very light mic will not hold position
- Arcs up and over, so it can sit in a webcam frame
- Costs more than most of the mics people mount on it
Sennheiser HD 280 Pro
Sennheiser · The only published isolation figure in the category
Buy them when leakage is the actual problem — a loud headphone mix, a noisy room, a condenser two feet away. Do not buy them as your only pair if you also mix, because the voicing will mislead you.
Why it is here
- 32 dB of attenuation is the highest published figure on this page, and almost nobody else publishes one at all
- 64 ohms with a 113 dB maximum SPL plays loud from any interface output on this site
- Costs a fraction of the Beyerdynamic picks while isolating better than either
What it costs you
- Strong clamping force that most people find uncomfortable before the second hour
- Mid-forward and bass-shy voicing — these are a tracking tool, not a mixing reference
- The coiled cable is captive, so a cable fault is a repair rather than a swap
Recording more than one person
- Two people in the room. Two microphones, two preamps, and — the part people miss — two headphone outputs, so both of you can set your own monitoring level. Two-person podcast setup is the full rig.
- Three or four people in the room. You need four genuine mic preamps and four headphone feeds, which only a handful of devices offer. Best audio interfaces for multiple mics has them.
- A remote guest. Record your own side locally at full quality and have them record theirs, then line the two up in the edit. Never rely on the call audio as your master.
- One microphone passed between people. Workable only with a Variable-D microphone that holds tone as distance changes — that is the Electro-Voice RE20 case.
The mistakes that cost the most
- Recording in the middle of an empty room. The worst acoustic position available, and it is free to leave.
- Buying a condenser because it looks like a studio microphone. It will faithfully record your untreated room. Best XLR microphones for podcasting is the right shelf.
- Pairing a low-output dynamic with an interface that cannot feed it. The single most common complaint in home podcasting, and a pairing fault rather than a gear fault. Is the SM7B worth it covers the most frequent example.
- Recording as loud as possible. Headroom is what survives a surprise. Peaks at -12 dBFS cost you nothing you cannot add later.
- Sharing one headphone output between two people. One level for two people means one of you is uncomfortable and drifting off-mic.
- Treating the room last. It is the cheapest remaining improvement at almost every stage. Acoustic treatment on a budget.
Software, and why it is not the answer
Any DAW will record a podcast, and free options are entirely capable of professional results. This is genuinely not where your quality limit sits, and switching later is easy — the files are just audio. Spend the attention you were going to give the software on step one instead.
What is worth setting up once: record each microphone to its own track, keep a raw unprocessed copy of every session, and leave the heavy processing until the edit. A compressor printed into the recording is a decision you cannot revisit.
What you do not need
- A mixer, for one or two voices. Audio interface vs mixer covers where one earns its place, and it is not here.
- A vocal booth. A small hard enclosure has its own strong resonances and usually sounds worse than a normal room with two panels in it.
- Studio monitors, to record. They are a mixing tool. In an untreated room headphones are the more honest one.
- Expensive cables, in a normal electrical environment. They are a fix for a diagnosed interference fault. Best XLR cables is honest about when that is real.
- A booster, if you choose a microphone and interface pairing that does not need one. Choosing well saves the purchase entirely.